Step-by-Step Guide to Mounting Cable Clips on Concrete Surfaces
July 11, 2025
Are you struggling to keep your cable clips secure on concrete surfaces? Mounting cable clips on concrete can be tricky, especially since concrete’s rough texture and porous nature make it tough to get a solid grip. But with the right materials, tools, and techniques, you can ensure your cables stay securely fastened, no matter the conditions.
Whether you're working on a home project or handling industrial installations, selecting the proper clip and installation method is key. Choosing the right clip for the job, using the proper tools, and following the right steps can make all the difference in creating a long-lasting and effective cable management system.
In this blog, we’ll guide you through a step-by-step process of securely mounting cable clips on a concrete surface, along with safety tips and best practices. Let’s dive in and make your cable installations on concrete hassle-free.
What are Cable Clips?
Cable clips are simple yet essential tools for securing and organizing cables and wires in various environments. These small devices, which come in different shapes and sizes, are designed to hold cables in place and prevent tangling, damage, and clutter.
Whether you're managing cables in a home, office, or industrial setting, cable clips provide a neat and secure solution for keeping wires organized. These are easy to install and can be mounted on different surfaces, efficiently maintaining a tidy and safe workspace.
Now that we’ve defined cable clips, let’s dive into why concrete surfaces need special attention when mounting them.
Why Concrete Surfaces Require Special Techniques
Mounting cable clips on concrete surfaces presents unique challenges due to their hard, porous nature. Unlike wood or drywall, concrete is dense and can be difficult to penetrate without the right tools or techniques.
Simply drilling into it can cause cracks or compromise the surface, making installation tricky. Additionally, concrete’s rough texture can make it hard for adhesive-based clips to stick securely over time. This is why specific techniques and the right choice of mounting materials are essential for ensuring that cable clips stay in place and provide long-lasting support.
Considering concrete’s unique challenges, let’s explore the different types of cable clips that will help you secure cables effectively.
Also read: How Long Do Cable Ties Last Outside? A Comprehensive Guide
Types of Cable Clips You Can Consider Using
When it comes to selecting the right cable clips for mounting on concrete surfaces, it's important to understand the different types available and their specific applications. The following cable clips are designed to suit various mounting needs, each with its unique features to ensure secure and reliable installation. Let’s explore each type in detail:
- SS Clip HD for SS Band Uncoated: Designed for use with heavy-duty stainless steel bands, this clip is also compatible with light-duty and coated bands.
- Self-Adhesive SAF Clips: Designed for holding single or multiple cables, these clips feature a low profile and a soft steel center hook. This allows for easy cable fixing and removal by simply pressing or pulling with a finger. The adhesive backing provides a long-lasting bond on a variety of clean and flat surfaces.
- Nylon 'P' Clip: A versatile clip that holds cables, tubes, and other components. It offers both fixed and adjustable designs for various wire and cable diameters. Easy mounting with screws makes it a practical choice for a wide range of applications.
- Nylon 'P' Clip Perforated Adjustable: This perforated adjustable version offers the flexibility to hold cables, tubes, and components with different diameters. The perforations facilitate easier installation with screws, making it highly adaptable and user-friendly.
Surelock provides a wide range of cable ties and clips, designed for heavy-duty applications, ensuring long-lasting performance even in the toughest environments.
Now that we know the available cable clips, let's move on to the tools and materials needed for a successful installation.
Tools and Materials for Installing Cable Clips on Concrete
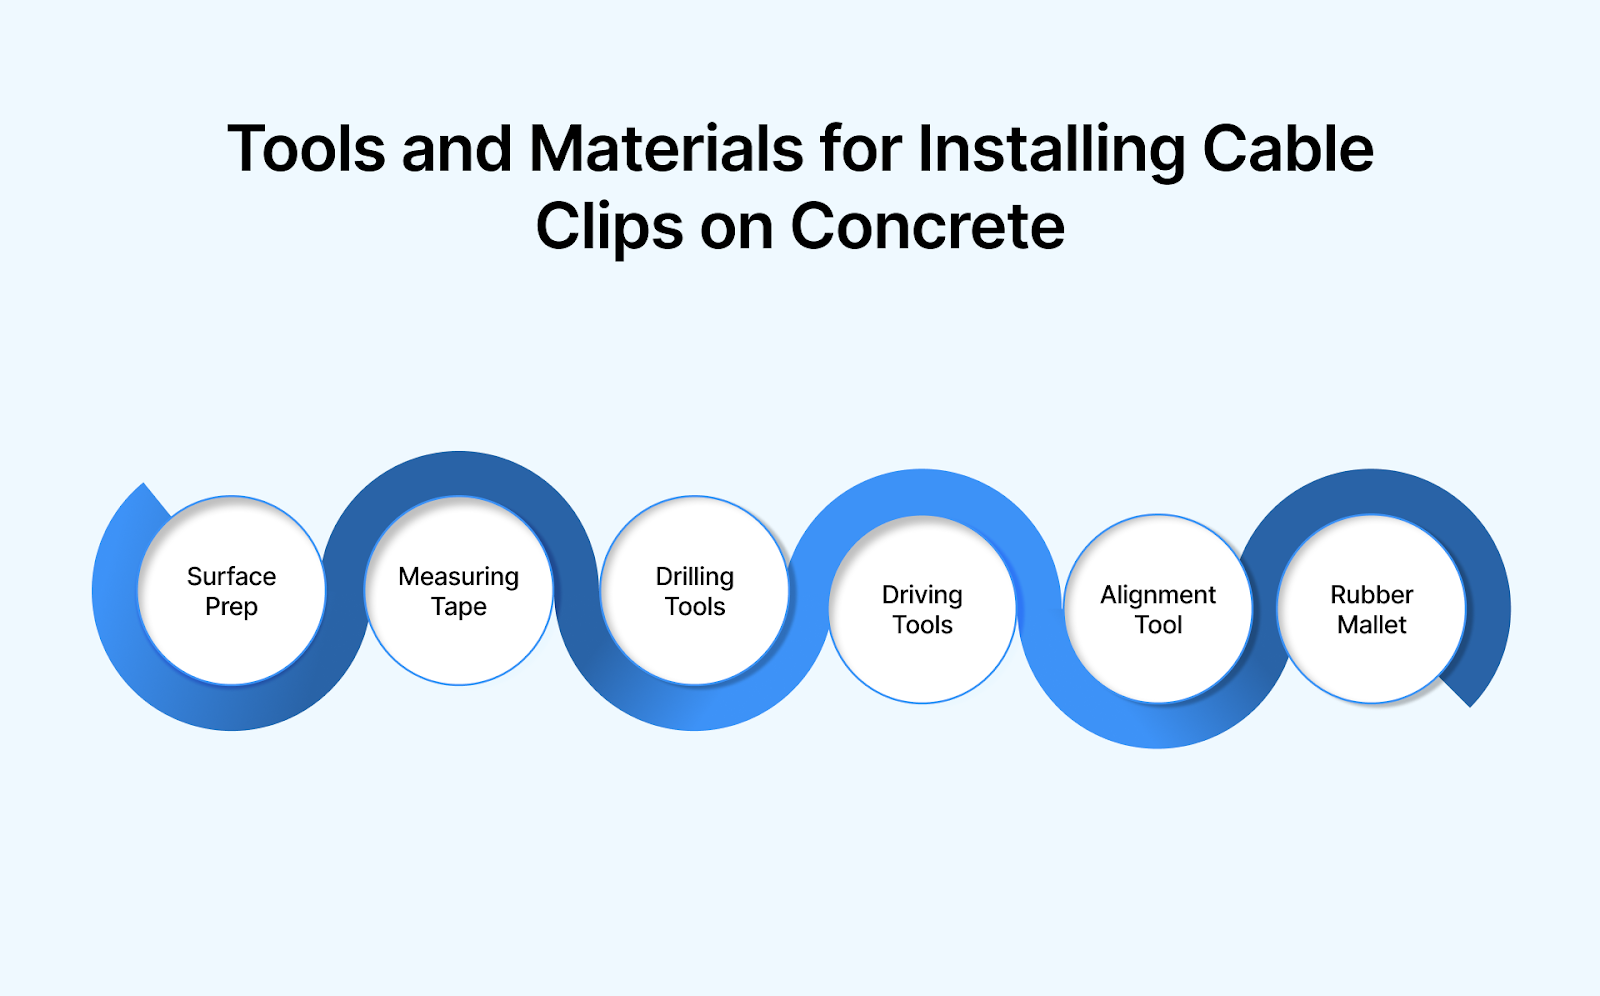
When mounting cable clips on concrete surfaces, choosing the right tools and materials is crucial for a secure and long-lasting installation. Whether you're using adhesive-based clips or screw-based options, each requires specific materials to ensure proper adhesion and stability. Here's what you'll need to get the job done:
- Adhesive Cleaner/Surface Preparation Solution: This product ensures the surface is free from dust, dirt, and grease, providing better adhesion for self-adhesive clips.
- Measuring Tape: Helps accurately position the clips for a neat, organized installation.
- Drill with Appropriate Drill Bits: These are required for installing screw-based clips, particularly for creating the necessary holes in concrete.
- Screwdriver or Power Drill: Once the holes are drilled, secure the screw-based cable clips onto the concrete surface.
- Level or Straight Edge: Ensures the cable clips are aligned properly for a clean, professional look.
- Rubber Mallet: This is for tapping in clips that require a snug fit without damaging the clip or surface.
Using these materials will ensure that your cable clips stay securely mounted on concrete surfaces for years to come.
Equipped with the right tools, let’s walk through the step-by-step process of mounting your cable clips on concrete surfaces.
Step-by-Step Guide: Mounting Cable Clips on Concrete Surfaces
The right tools and careful technique are key to securing your cables efficiently and effectively on concrete surfaces. Whether you're using adhesive or screw-based clips, follow these steps to ensure a clean, secure installation that lasts.
Below, we'll cover the installation steps for both clip types, including the required tools.
For Screw-Based Cable Clips:
Installing screw-based cable clips provides a robust and secure solution for concrete surfaces. Here’s how you can securely mount cable clips on concrete surfaces:
- Surface Preparation: Clean the concrete surface using a Surface Cleaner or cloth to remove dust, dirt, or grease for better adhesion and stability.
- Measure and Mark: Use a measuring tape, pencil, and level to mark the locations for the screw holes, ensuring the clips are aligned correctly and spaced evenly.
- Drill Holes: Use a power drill with a masonry drill bit to create pilot holes at the marked points. Drill to the depth required for the screws to be securely inserted.
- Position the Clip: Place the screw-based clip over the drilled holes, ensuring it aligns properly.
- Install the Screws: Use a screwdriver or power drill to insert screws through the clip and into the concrete. Tighten the screws securely to ensure the clip is firmly mounted.
- Place the Cable: Insert the cable into the secured clip, adjusting it to ensure it’s held firmly in place.
- Final Check: Gently tug on the cable to confirm that the clip is holding it securely. If it holds firm, your installation is complete.
Similarly, working with adhesive-based clips is also simple, allowing for quick and hassle-free installation.
For Adhesive Cable Clips:
If you’re looking for a quick, efficient, and non-permanent installation, adhesive cable clips are the perfect choice. This method offers flexibility and ease of use, especially when drilling is not an option. Let’s explore how to do that:
- Surface Preparation: Clean the concrete surface using an Adhesive Cleaner or surface preparation solution to ensure a dust—and grease-free area for mounting the clips.
- Measure and Mark: Use a measuring tape, pencil, and level to mark the exact placement of each clip, ensuring even spacing and alignment.
- Peel Off the Backing: Peel off the protective backing from the adhesive cable clips. Do not touch the adhesive surface to maintain strong bonding.
- Apply the Clip: Press the adhesive side of the clip firmly onto the marked spot on the concrete surface. Hold in place for a few seconds to ensure a solid bond.
- Allow Time for Adhesion: Let the adhesive cure according to the manufacturer’s instructions to ensure maximum bond strength. This typically requires a few minutes to a few hours.
- Place the Cable: Once the adhesive has been fully set, insert the cable into the clip, ensuring it’s securely held against the concrete.
- Final Check: Gently tug on the cable to confirm that it is held securely. If the clip remains firmly in place, your installation is complete.
Surelock’s expertly designed products, including self-adhesive and screw-based clips, make the installation process seamless and ensure long-term stability and security.
With the mounting process covered, let’s now look at the best safety practices to ensure your setup stays secure long-term.
Also read: How to Use Cable Tie Mounts Guide
Safety Considerations and Best Practices for Managing Cables with Installed Clips
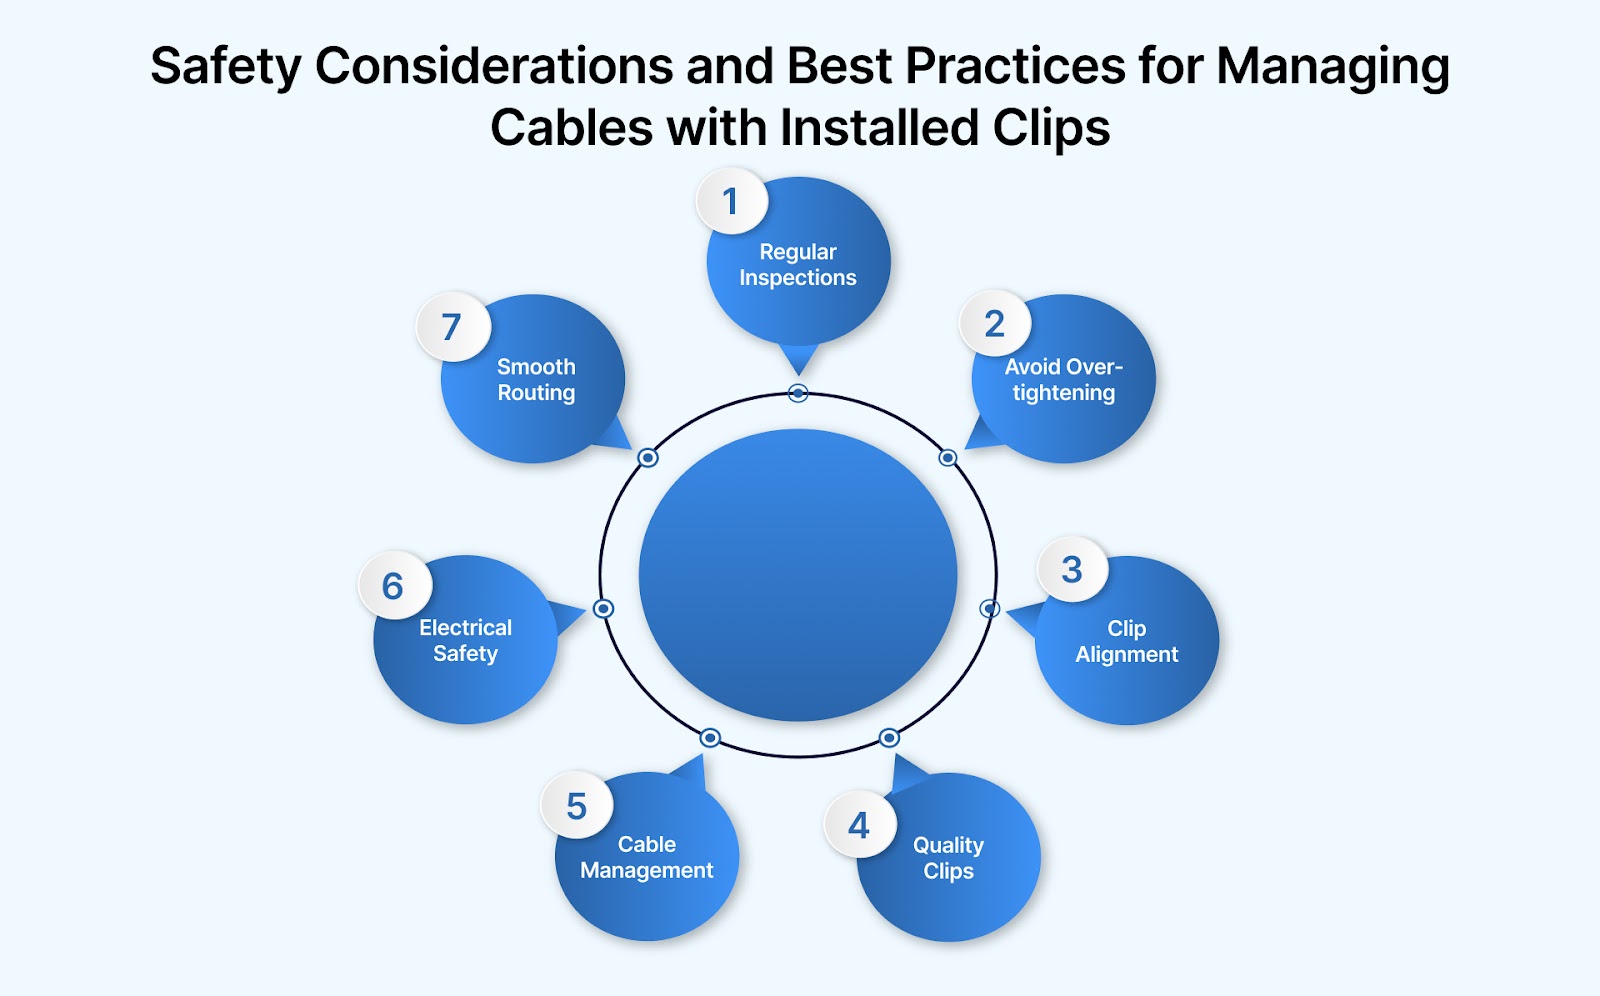
Managing cables properly is crucial for maintaining system functionality and ensuring safety in your workspace. Whether you're working with adhesive or screw-based cable clips, taking the right precautions and following best practices can help extend the life of your installation and reduce associated risks. Here’s what you need to do:
- Regular Inspections: Periodically check installed clips for any signs of wear, cracks, or damage. Replace any damaged clips immediately to prevent cable slippage or damage.
- Avoid Over-tightening: When securing cables, avoid over-tightening clips, especially screw-based ones, to prevent cable damage or breakage.
- Proper Clip Alignment: Ensure clips are aligned correctly, especially for adhesive types, to prevent misalignment that could strain cables over time.
- Use Quality Clips: Only use high-quality cable clips, preferably provided by Surelock, to ensure long-lasting performance and safety.
- Secure Multiple Cables Properly: For bundles, avoid crowding multiple cables into a single clip, as this could cause overheating or strain on cables.
- Electrical Safety: When managing electrical cables, ensure the clips are insulated and the area is moisture-free to prevent electric shocks.
- Avoid Sharp Turns: When mounting cables, avoid sharp bends. Clips should allow the cable to follow a natural curve without stress to the wires.
By following these safety considerations and best practices, you ensure both the durability of your installation and the safety of those working with or around it.
Having covered safety, it’s time to choose the perfect cable clips to match your concrete surface and specific needs.
Choosing the Right Cable Clips for Concrete Walls and Surfaces
Choosing the right cable clips is critical for ensuring your cables are securely mounted and safe. The choice depends on several factors, including the type of surface, the weight of the cables, and the environmental conditions. Here’s how to make the right choice:
- Surface Type: Consider whether you're mounting on a smooth or rough concrete surface. Screw-based clips are more reliable for rough surfaces, while adhesive clips are suitable for smooth, flat surfaces.
- Weight of Cables: Choose clips based on the weight and thickness of the cables. Heavier cables require stronger, more durable clips such as screw-based options or robust adhesive types.
- Environmental Conditions: Consider factors like exposure to heat, humidity, or chemicals. For harsh environments, opt for clips designed for high-stress conditions.
- Adhesive Strength: Check the quality of the adhesive for adhesive clips. Strong, industrial-grade adhesives are essential for secure mounting, especially on concrete surfaces.
- Adjustability: If you anticipate changes in cable sizes, choose adjustable clips. These clips offer flexibility for future modifications without requiring the replacement of clips.
- Clip Design: Opt for clips with smooth edges to avoid damaging the cables during installation or over time. Clips that hold cables firmly yet gently are ideal.
- Temperature Tolerance: Ensure the clips are rated for the temperature ranges your installation will experience. For extreme temperatures, select clips specifically designed to withstand both heat and cold.
Considering these factors, you'll select the right clips to ensure a secure, long-lasting installation on concrete surfaces.
Wrapping Up
Mounting cable clips on concrete surfaces is a straightforward process when you have the right tools and techniques at hand. From surface preparation to selecting the right clip, each step ensures a secure and lasting installation. You can achieve a professional result every time with the proper understanding and approach.
Surelock offers a range of cable clips, including self-adhesive and screw-based options, designed to meet the demands of any project. Whether you need durable solutions for tough environments or a simple, quick installation, Surelock’s products deliver both reliability and performance.
Contact us today to find the best cable clips on the market!